Introduction
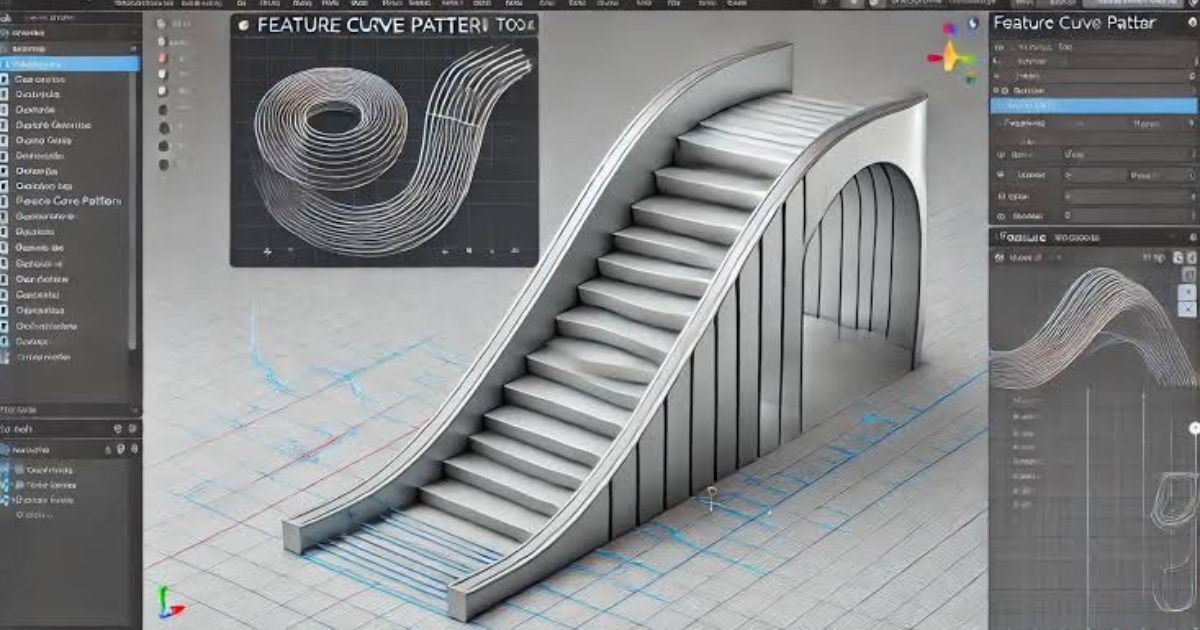
Onshape, a powerful cloud-based CAD platform, offers a variety of advanced modeling tools, one of which is the Curve Pattern feature. This tool allows users to create complex and precise patterns along curves, making it particularly useful for designing structures like ladders with evenly spaced rungs.
If you’re an engineer, product designer, or CAD enthusiast, mastering the Curve Pattern tool in Onshape will significantly enhance your workflow. This guide will take you through everything you need to know to create a ladder using the Curve Pattern feature, ensuring precision, efficiency, and an optimized design.
Understanding the Curve Pattern Feature in Onshape
The Curve Pattern feature in Onshape allows users to replicate parts, faces, or features along a defined curve. This is especially useful for creating repetitive elements like ladder rungs, perforated panels, or helical structures.
Key Benefits of Using Curve Pattern for a Ladder:
Precision & Uniformity: Ensures evenly spaced rungs along a curved or straight path.
Time-Saving: Automates repetitive placements instead of manually positioning each rung.
Dynamic Adjustments: Easily update spacing, number of repetitions, and alignment.
Works with Any Curve: Supports splines, arcs, and straight lines.
Step-by-Step Guide: Creating a Ladder Using Curve Pattern
Step 1: Sketch the Ladder Frame
- Open Onshape and start a new part studio.
- Create a 2D sketch of the ladder frame on the Front Plane.
- Draw two parallel lines representing the ladder’s side rails.
- Add appropriate dimensions for width, height, and spacing.
Step 2: Create the First Ladder Rung
- Start a new sketch on the Right Plane (or any plane perpendicular to the side rails).
- Draw a cylinder or rectangular extrusion for the first rung.
- Use extrude to make it a solid feature and position it properly between the rails.
Step 3: Use the Curve Pattern Feature
- Select Curve Pattern from the feature toolbar.
- Choose the first ladder rung as the feature to pattern.
- Select one of the side rails as the curve to follow.
- Adjust the spacing and number of repetitions to fit your design.
- Enable Align to Curve if needed, ensuring rungs are properly aligned.
Step 4: Final Adjustments
- Check for proper clearance and alignment between rungs.
- Modify spacing if necessary to meet safety and ergonomic standards.
- Apply fillets or chamfers for a smoother design.
Pro Tips for Optimizing Ladder Design in Onshape
Use Construction Geometry – Helps in defining precise curve paths before applying the pattern.
Test Different Spacing Methods – Experiment with equal spacing vs. ratio-based patterns for best fit.
Leverage Parametric Design – Use variables and equations to quickly adjust rung count and spacing dynamically.
Check Mass Properties – Ensure your ladder is lightweight but structurally sound.
Real-World Applications of Curve Pattern in Ladder Design
- Firefighter Ladders – Designed with optimized rung spacing for fast, safe climbing.
- Construction Scaffolding – Used to create modular ladders that fit unique site requirements.
- Marine Boarding Ladders – Curve Pattern allows for perfect alignment with hull contours.
- Custom Spiral Ladders – Essential for designing helical or curved ladder structures in tight spaces.
Conclusion
The Curve Pattern feature in Onshape is an incredibly powerful tool for creating precise, efficient, and scalable ladder designs. By mastering this feature, you can significantly improve your CAD workflow, whether you’re working on industrial ladders, fire escape solutions, or creative architectural designs.
Start experimenting today, and unlock a new level of efficiency in your Onshape designs!
2 thoughts on “Onshape Feature: Curve Pattern for a Ladder – A Complete Guide”