Introduction
A small oil leak in your vehicle can lead to bigger problems if left untreated. While minor leaks may not seem urgent, they can cause engine damage, environmental pollution, and costly repairs over time. This guide will walk you through how to identify, diagnose, and fix a small oil leak before it turns into a major issue.
1. Identifying an Oil Leak
Before fixing an oil leak, you need to confirm its source. Here’s how to check:
Signs of an Oil Leak
- Oil spots under your car – Check for dark, greasy puddles where you park.
- Burning oil smell – If oil drips onto hot engine components, it can produce a noticeable odor.
- Low oil levels – If your engine oil level drops frequently, a leak may be the cause.
- Smoke from the engine – Oil leaks onto exhaust components can create smoke.
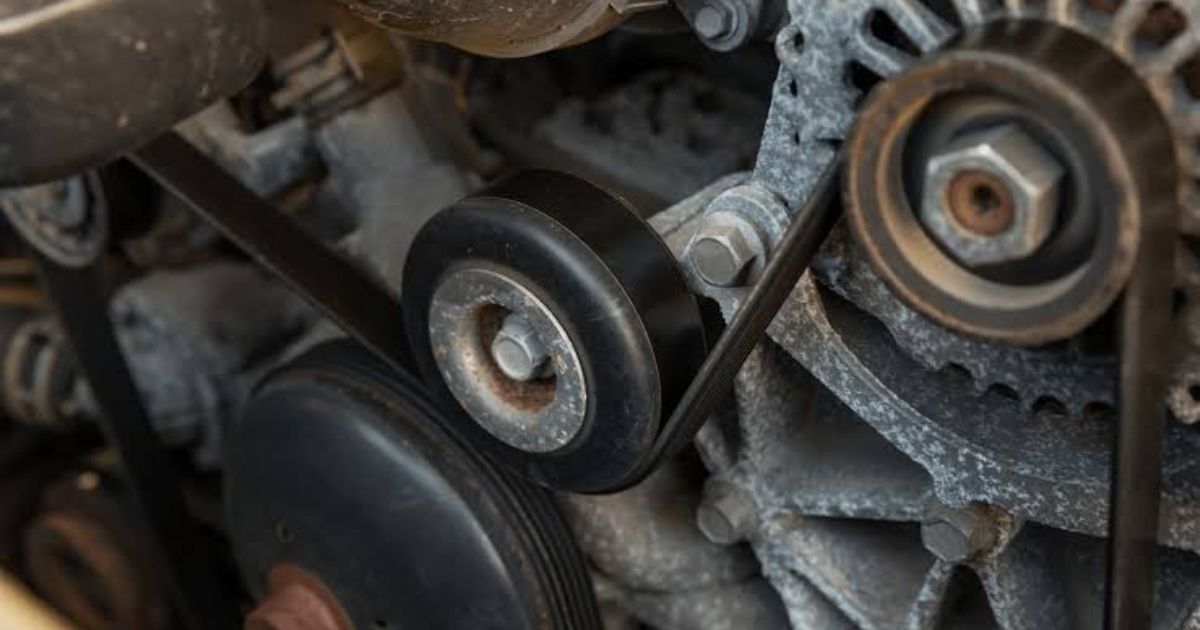
Common Leak Locations
- Oil pan gasket – Located at the bottom of the engine, this seal can wear out over time.
- Valve cover gasket – Found on top of the engine, this can leak if the gasket deteriorates.
- Oil filter and drain plug – Improperly tightened or damaged filters and plugs can cause leaks.
- Rear main seal – A more serious leak that may require professional repair.
2. Tools & Materials Needed
✔️ Socket wrench set ✔️ Torque wrench (for tightening bolts properly) ✔️ Oil leak stop additive (optional for temporary fixes) ✔️ New gaskets or seals (if needed) ✔️ Oil and oil filter (for replacement if necessary) ✔️ Degreaser and rags (to clean the area before repair)
3. Step-by-Step Guide to Fixing a Small Oil Leak
Step 1: Locate the Leak
- Park your car on a flat surface and let it cool down.
- Clean the suspected leak area with degreaser and wipe it dry.
- Run the engine for a few minutes and check for fresh oil seeping out.
Step 2: Tighten Loose Bolts
- Use a torque wrench to ensure that oil pan bolts, valve cover bolts, and the drain plug are properly tightened.
- Be cautious not to overtighten, as this can damage gaskets.
Step 3: Replace Worn-Out Gaskets or Seals
- If you notice oil seeping from the valve cover gasket or oil pan gasket, replace them.
- Remove the old gasket, clean the mating surfaces, and install a new one with sealant if required.
Step 4: Use an Oil Leak Stop Additive (Temporary Fix)
- If replacing a gasket isn’t an immediate option, consider adding an oil leak stop additive to your engine oil.
- This product can soften and expand seals, temporarily stopping small leaks.
Step 5: Change Your Oil and Filter
- If the leak is coming from the oil filter or drain plug, replace them during an oil change.
- Make sure the new filter is properly tightened and the drain plug has a new washer if required.
Step 6: Recheck for Leaks
- After repairs, start the engine and let it run for a few minutes.
- Inspect the previously leaking area for any signs of new oil drips.
4. When to Seek Professional Help
Some oil leaks may require professional attention, especially if:
- The leak comes from the rear main seal or camshaft seal, which involves major engine disassembly.
- Oil is leaking onto the exhaust, creating a fire hazard.
- The leak persists even after gasket or seal replacement.
5. Preventing Future Oil Leaks
✔️ Regular oil changes – Old, degraded oil can cause seals to shrink and leak. ✔️ Check gaskets and seals periodically – Replace them as part of routine maintenance. ✔️ Use the correct oil type – Manufacturer-recommended oil helps keep seals in good condition. ✔️ Avoid over-tightening bolts – Follow torque specifications to prevent damaging gaskets.
Final Thoughts
Fixing a small oil leak early can save you from costly repairs and prevent engine damage. By identifying the source, using the right tools, and following proper repair steps, you can stop leaks and keep your vehicle running smoothly.
Would you like recommendations on oil leak repair kits or sealants?